
Part 1
Set up your organization
Do this once, when you set up the organization. After step 1, everything here is in the website’s sidebar.
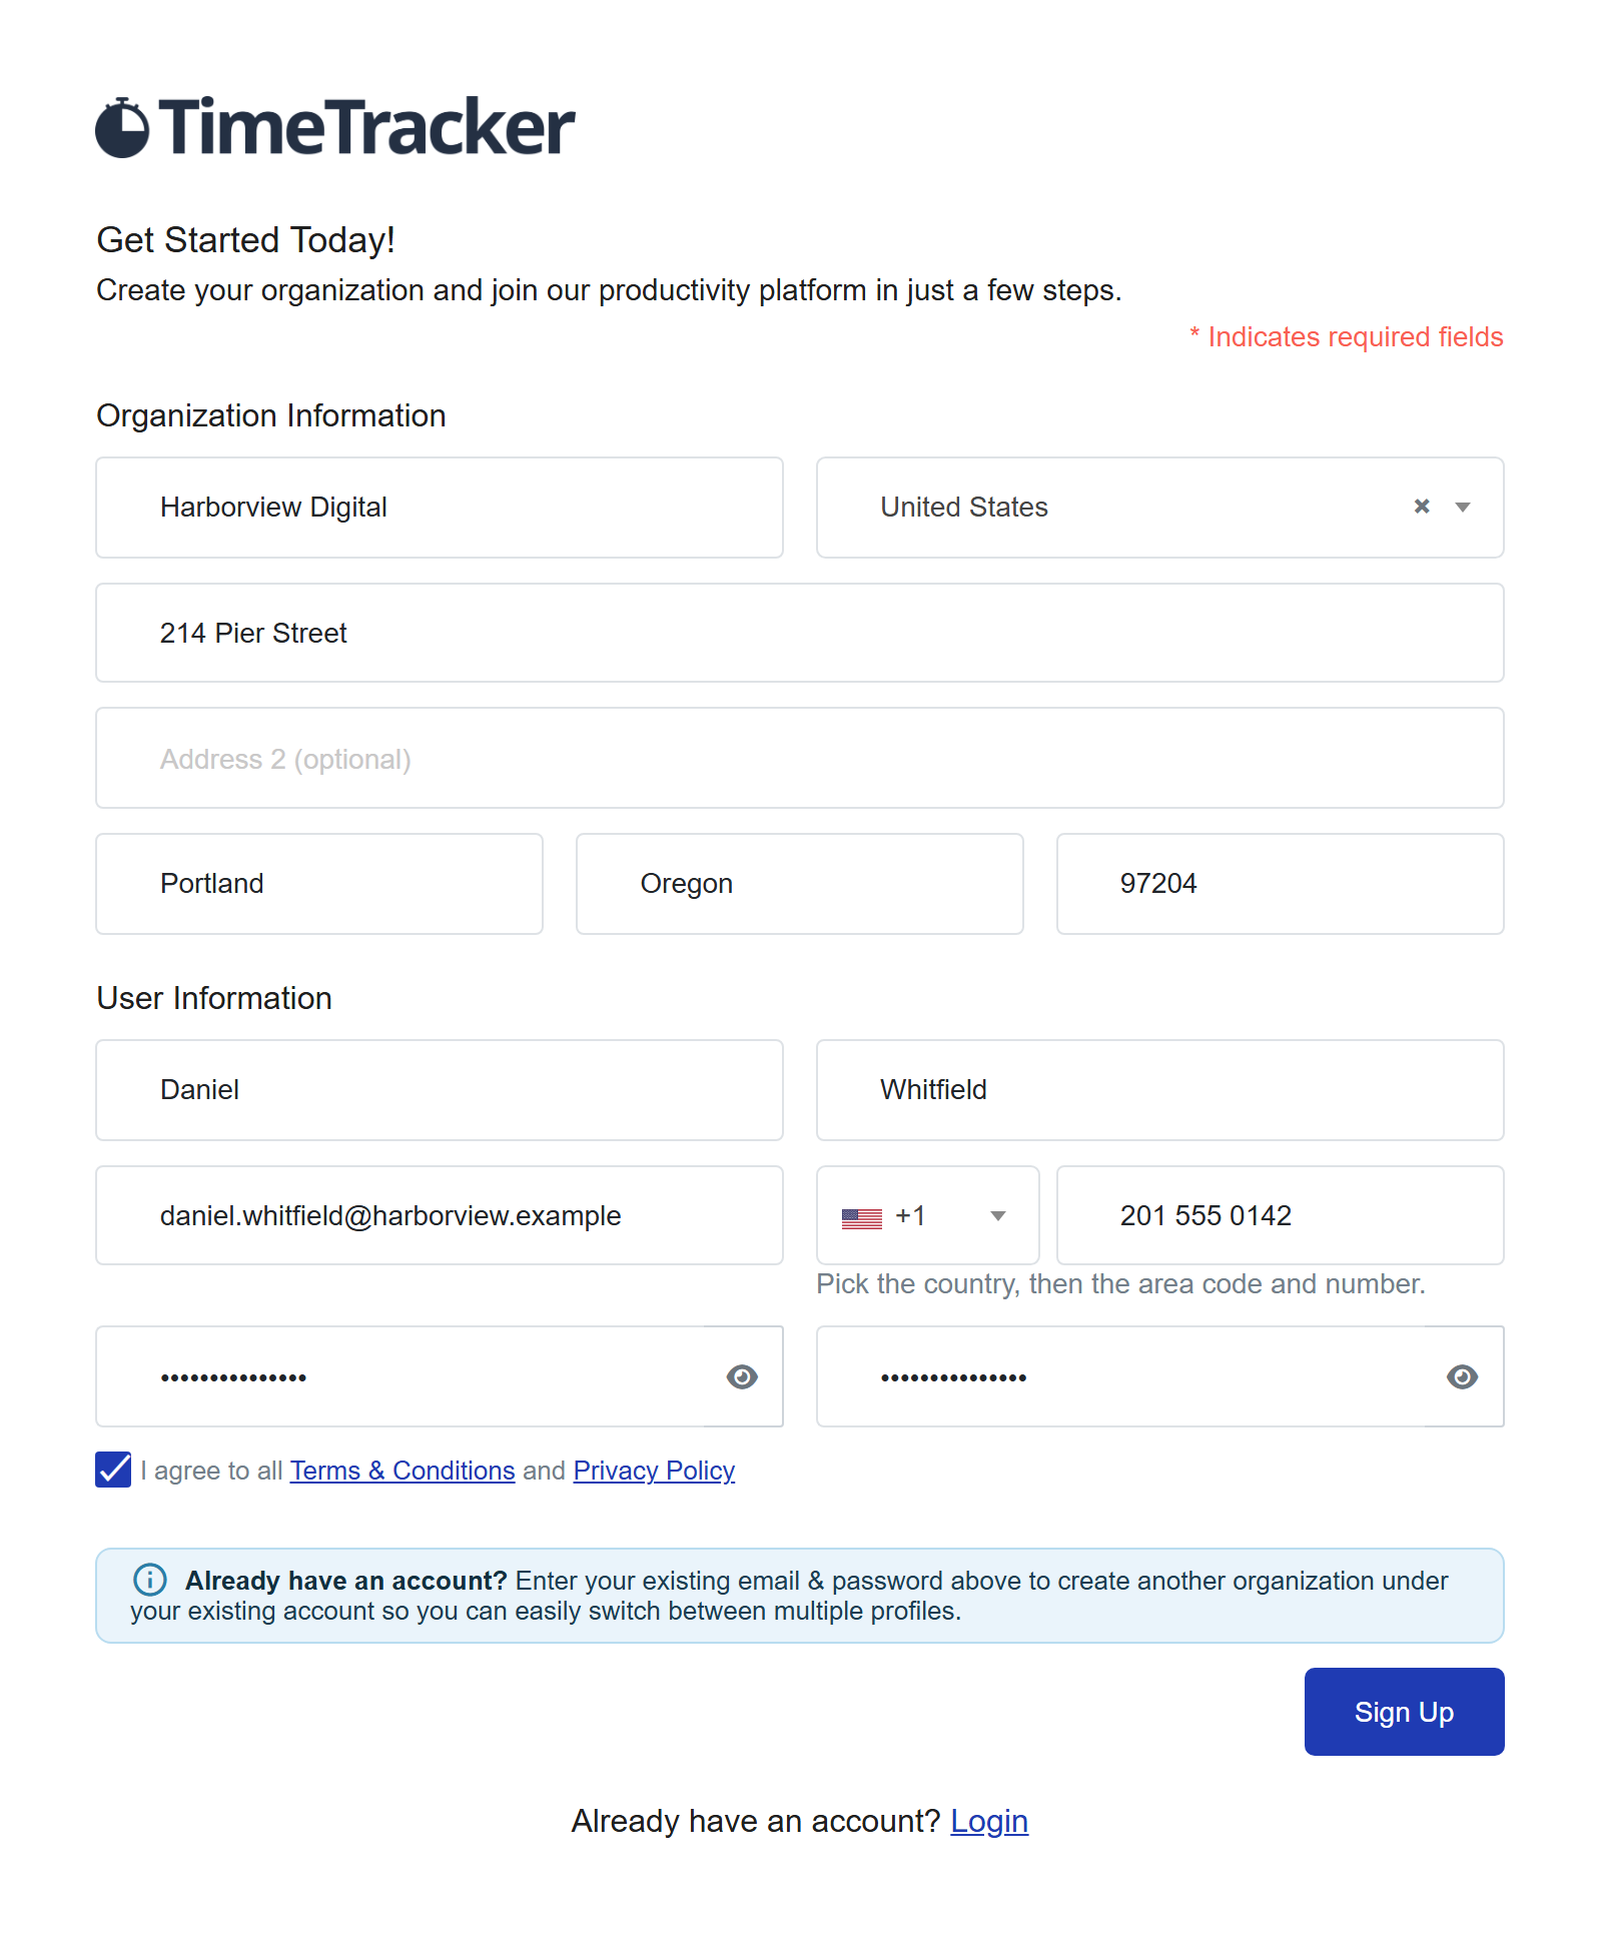
1 Create your organization
- On the home page, click Create organization.
- Under Organization Information, enter the organization’s name, country and address.
- Under User Information, enter your name, email, phone number and a password.
- Tick the box to agree to the Terms & Conditions and the Privacy Policy, then press Sign Up.
- Open the email we send you, click the verification link, then sign in.
You become the organization’s first admin. Already have an account? Enter its email and password in the form to start another organization under it.
2 Add users
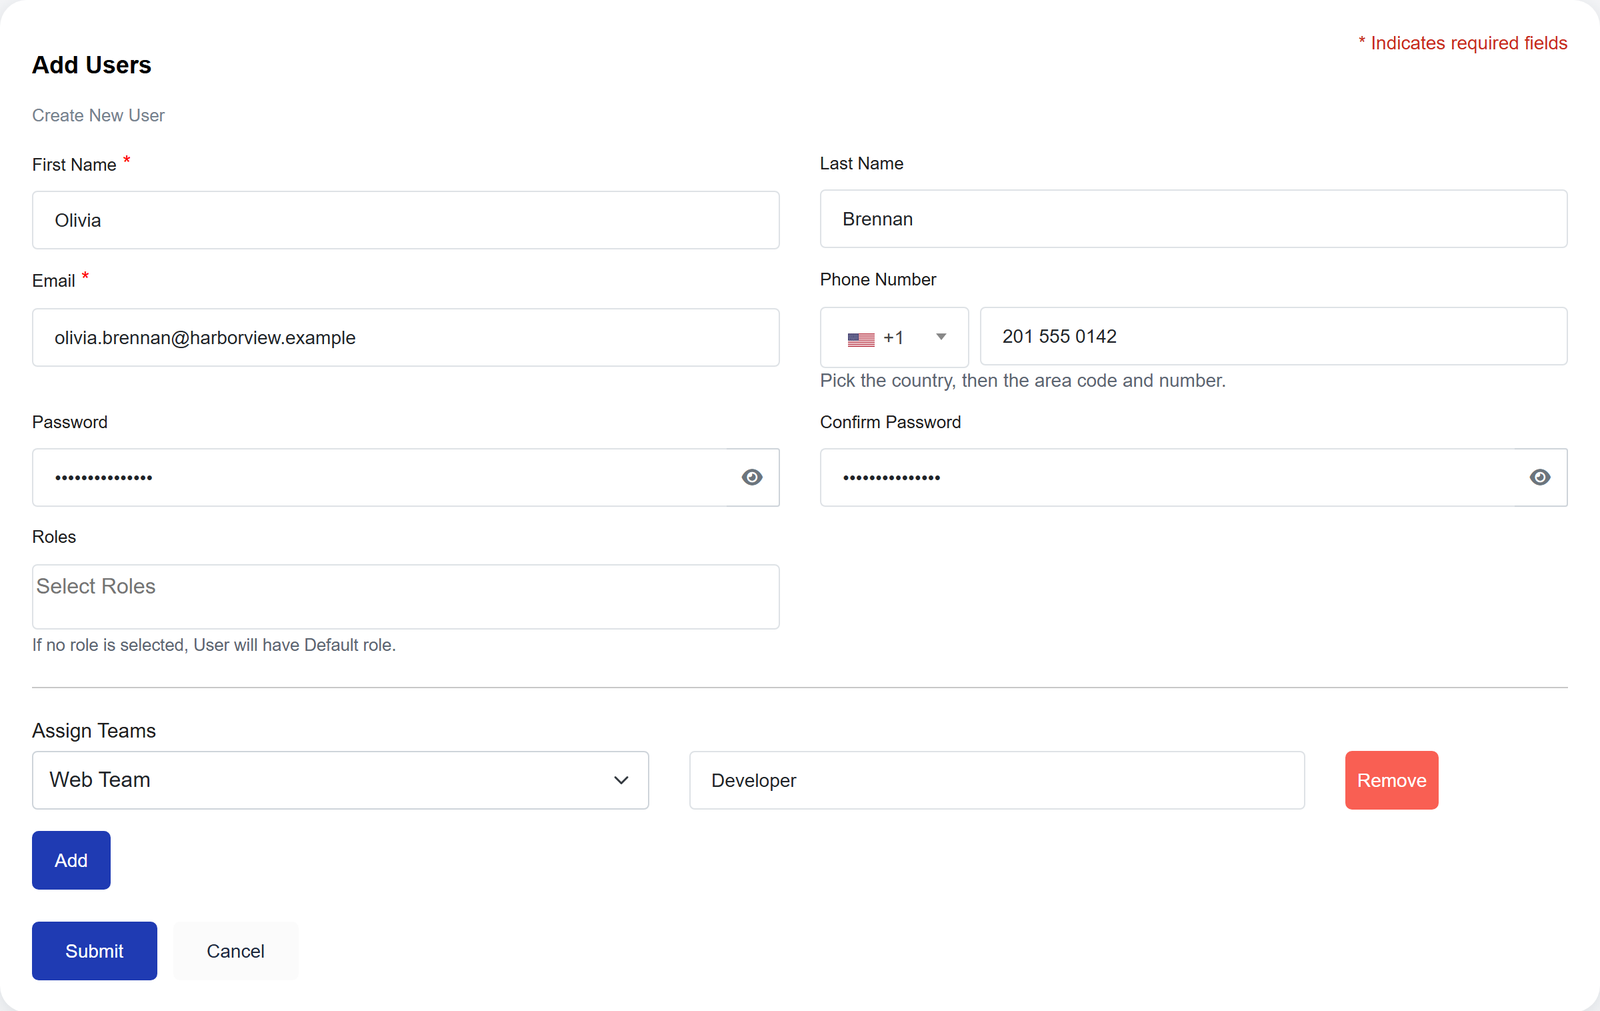
- Click Users in the sidebar, then Add New.
- Enter their name, email, phone number and a starting password.
- Choose a Role, or leave it empty to give them the standard User role.
- Optional: pick a team under Assign Teams.
- Press Submit.
They get an email to verify their address. The password is not in it, so send it to them yourself. If the email already has an account, they join with the password they already have.
3 Create teams
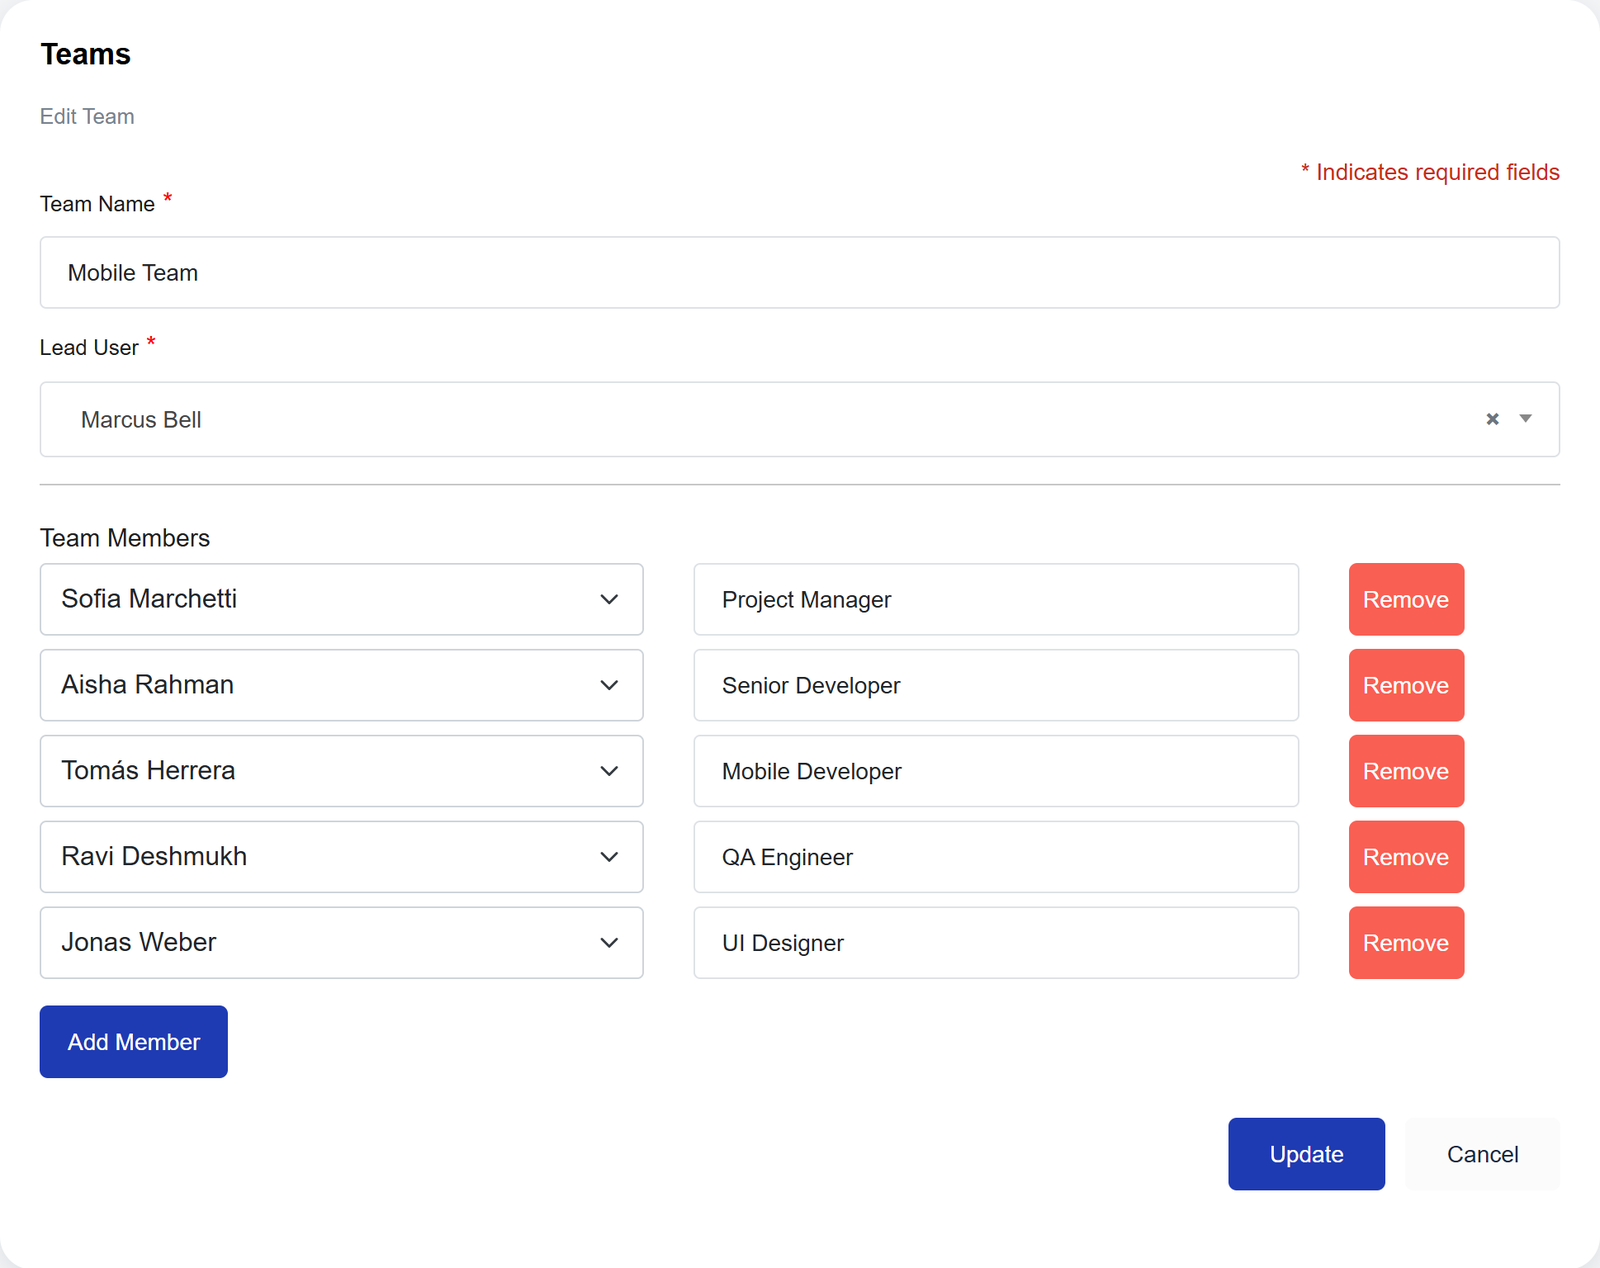
- Click Teams in the sidebar, then Add New.
- Enter a Team Name and choose a Lead User.
- Press Add Member for each person and pick them from the list.
- Press Submit.
Every project belongs to one team, and only its members and lead can track time on it. The lead can also see the team’s hours.
4 Verify emails
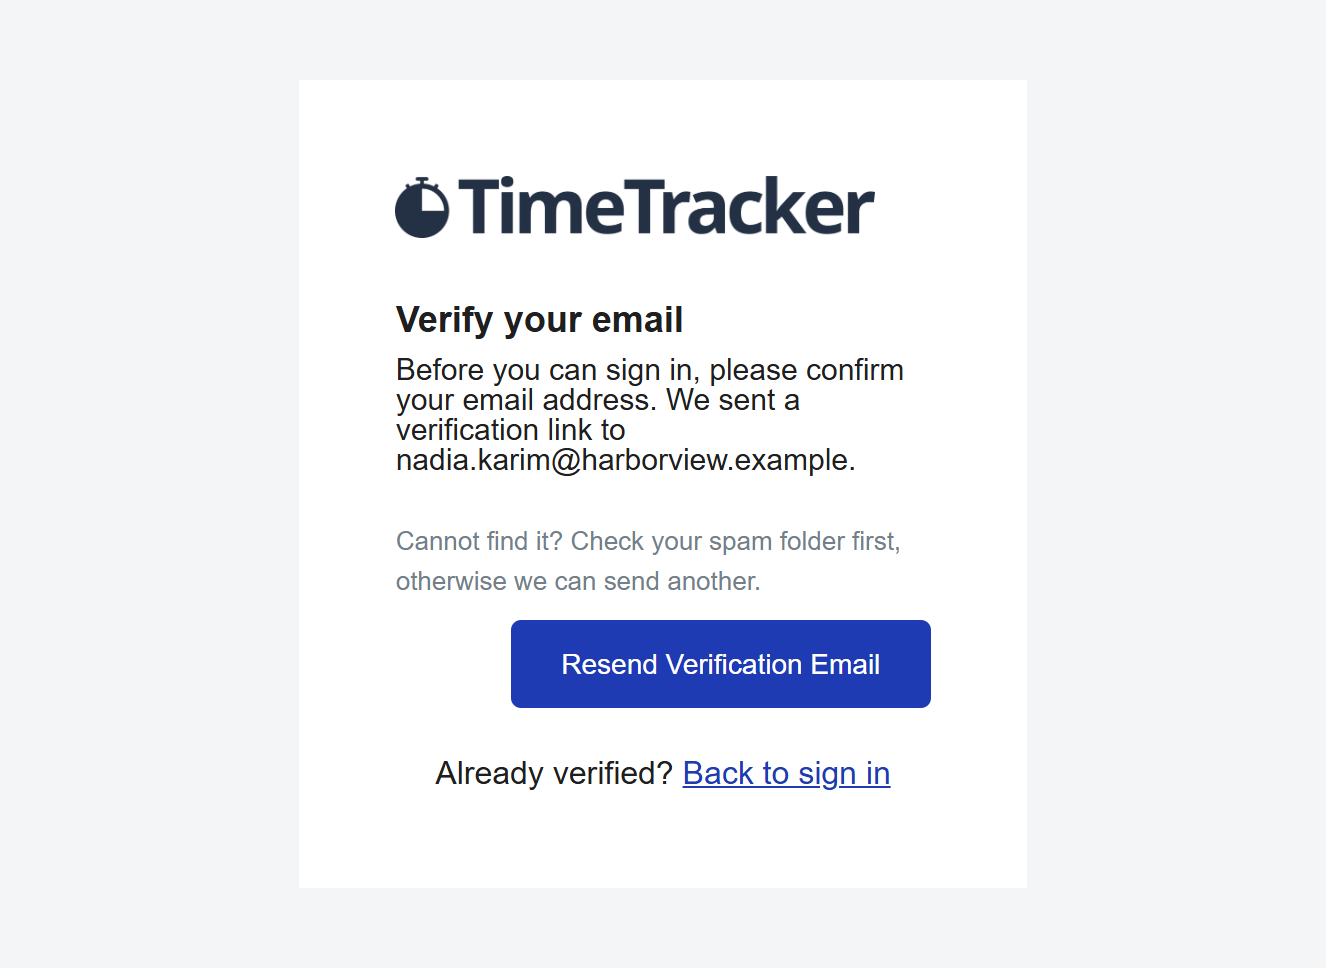
- Each new user opens the email and clicks the verification link.
- No email? Check spam, then sign in on the website and press Resend Verification Email.
Nobody can sign in, on the website or the desktop app, until they verify. Typed the address wrong? Fix it on the user’s edit page and a new link goes out.
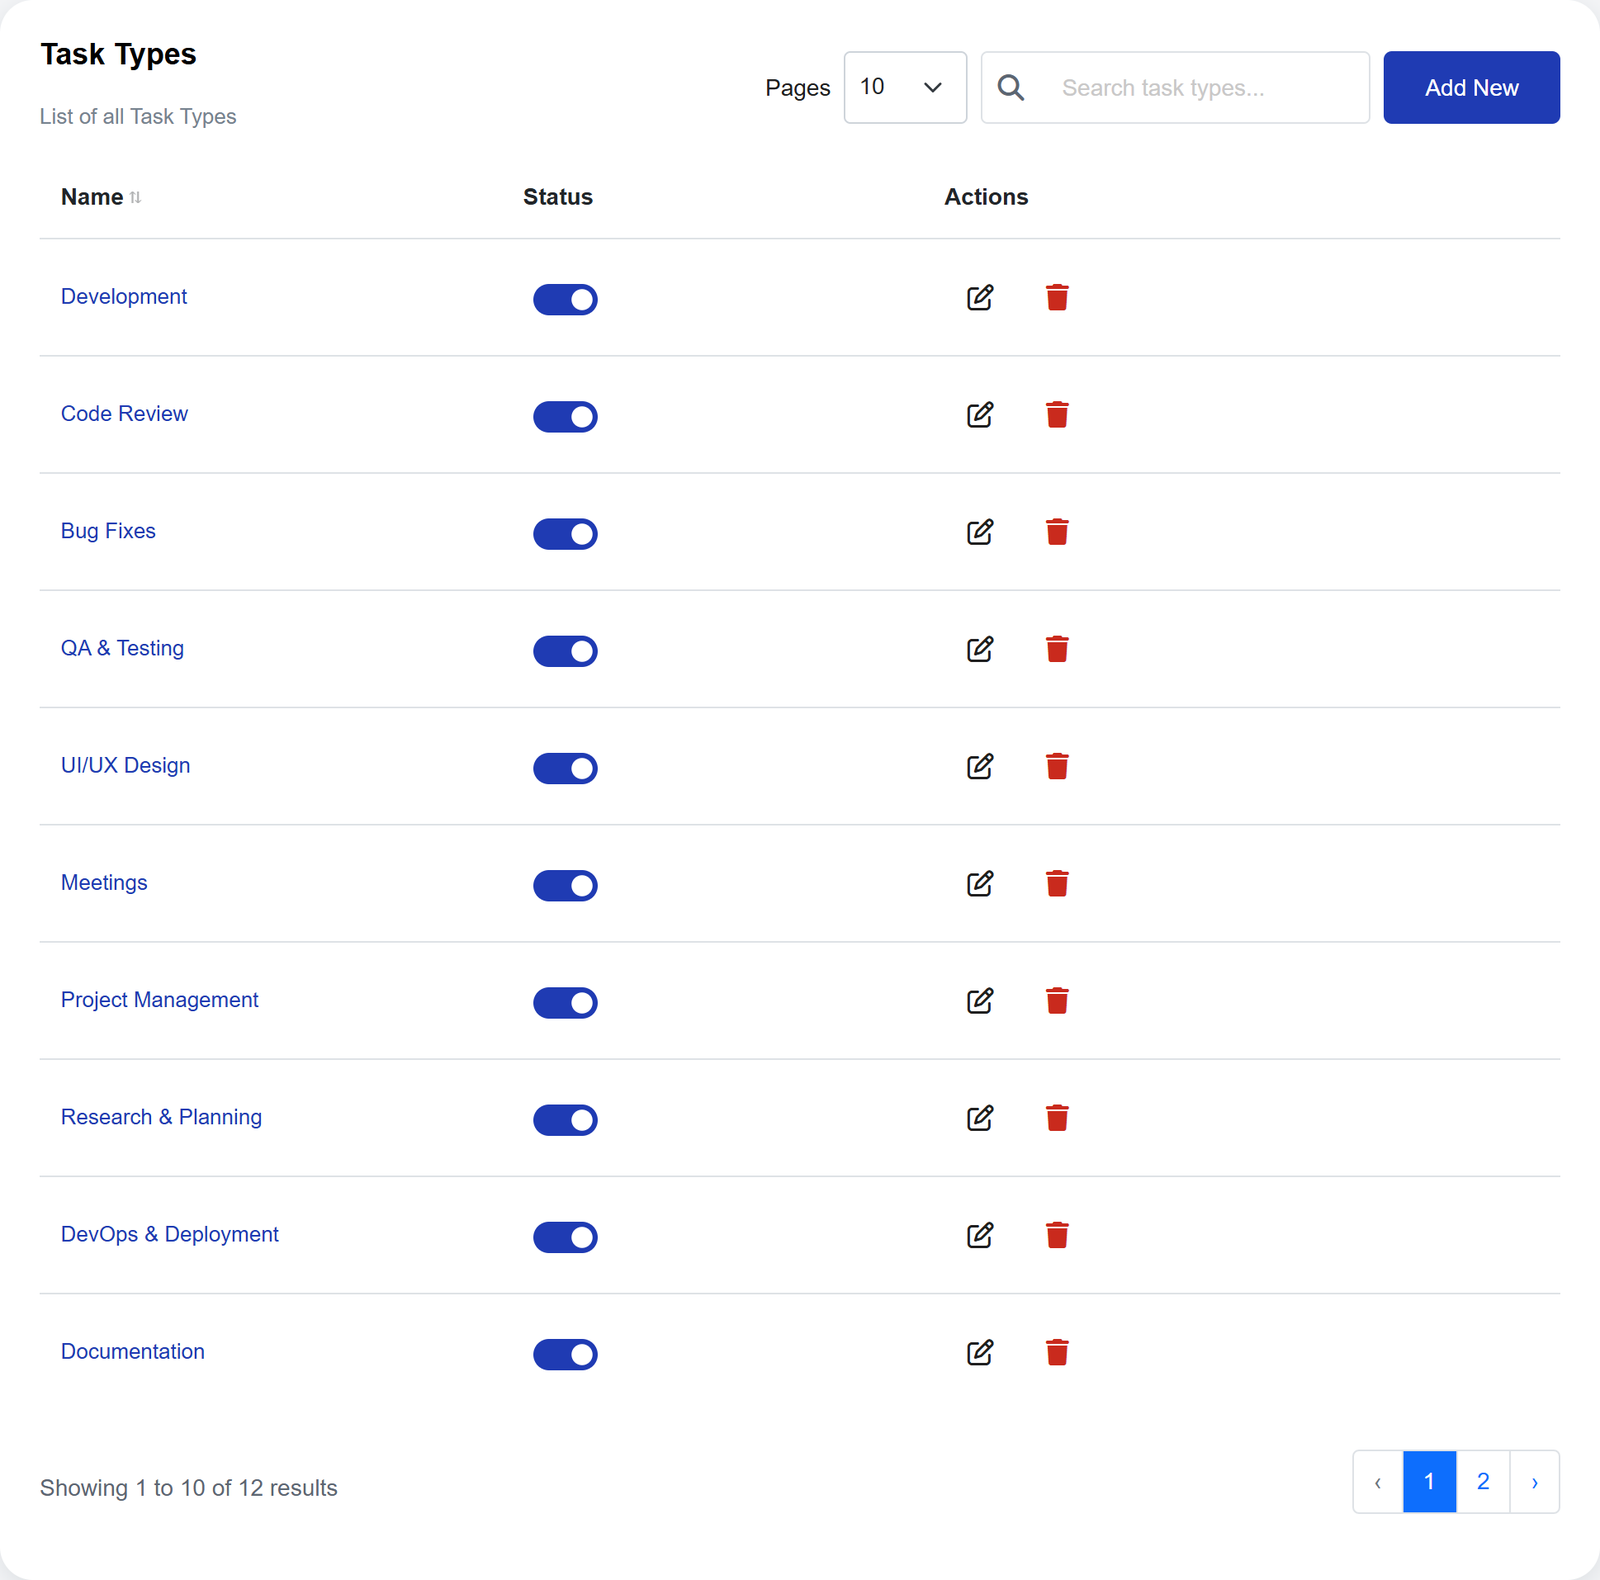
5 Add task types
- Click Task Types in the sidebar, then Add New.
- Enter a Name, such as Development, Design or Meetings.
- Optional: choose the Projects it belongs to.
- Press Submit.
Task types are the kinds of work your reports split into. Eight to twelve is plenty.
6 Create projects
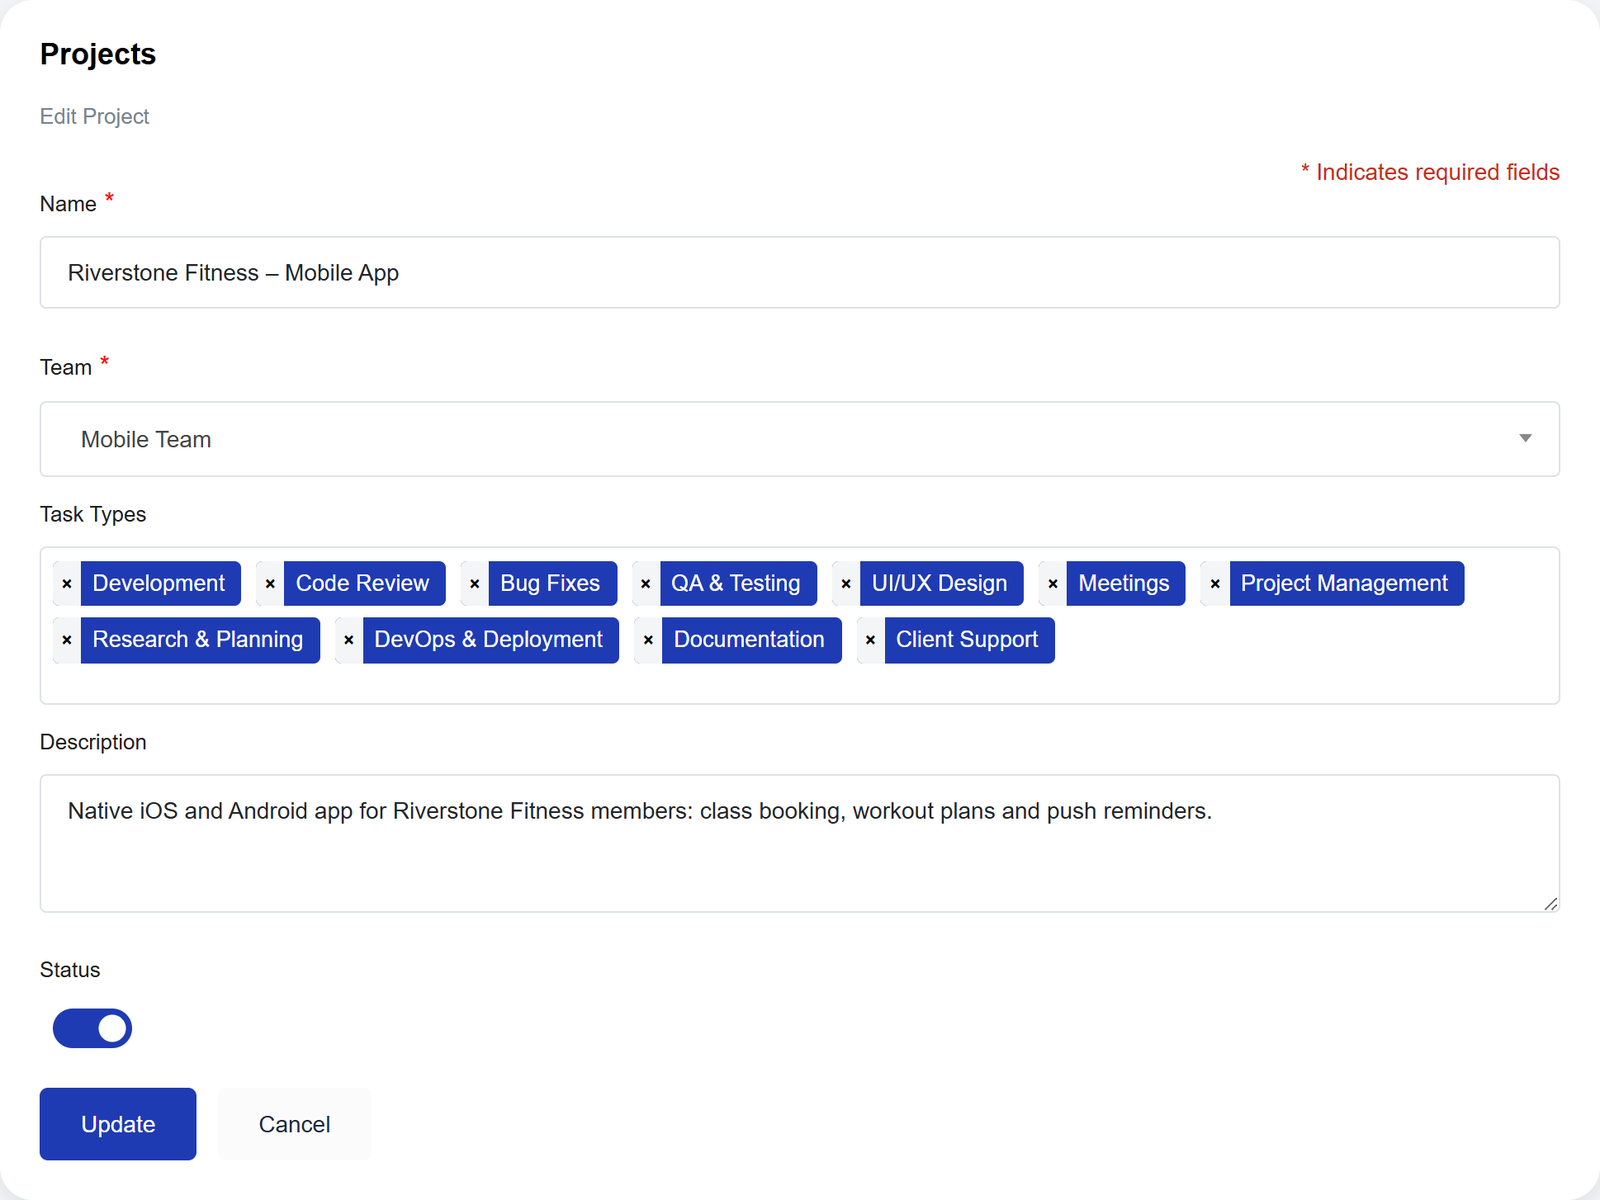
- Click Projects in the sidebar, then Add New.
- Enter a Name and choose the Team that works on it.
- Choose at least one Task Type. The timer will not start without one.
- Press Submit.
Keep finished projects rather than deleting them, or their hours disappear from Reports. More in the project time tracking guide.
7 Create roles
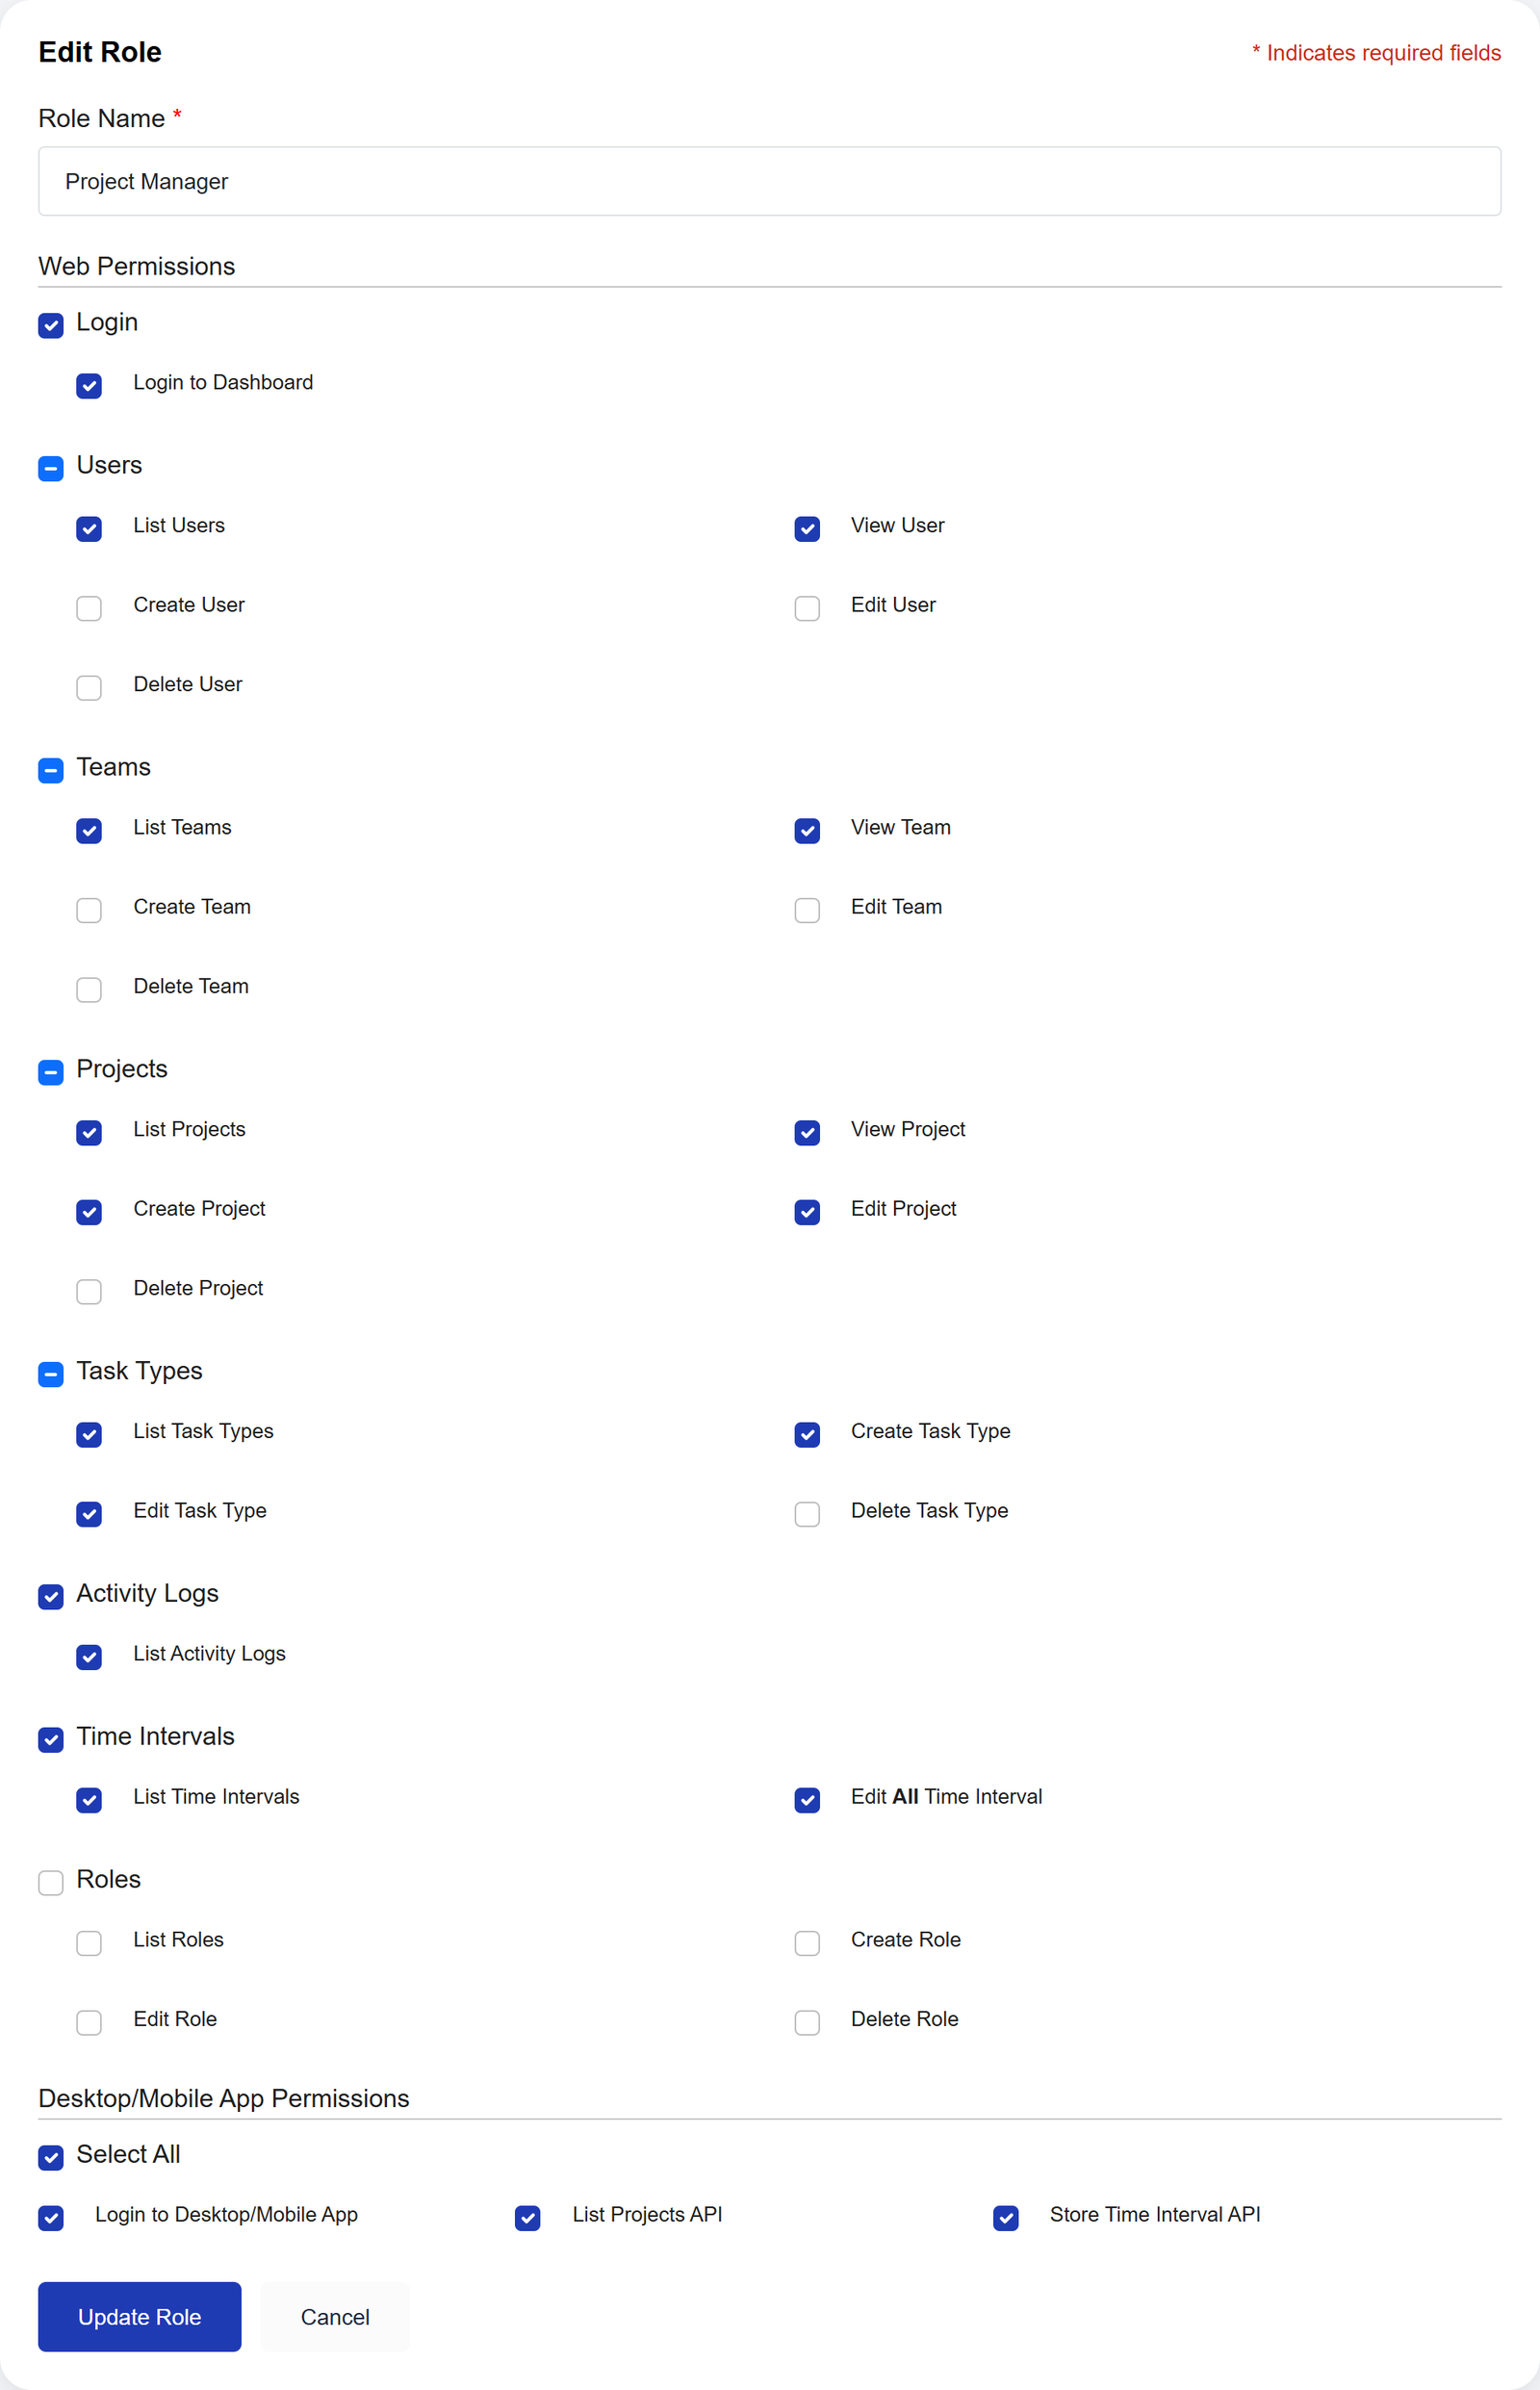
- Click Roles in the sidebar, then Add New Role.
- Enter a Role Name and tick the permissions it needs.
- For people who track time, tick all three Desktop/Mobile App Permissions.
- Press Save Role.
- Give it to people: Users, the edit icon next to a person, Roles, then Update User.
Optional. The built-in roles cover most organizations: Organization Admin can do everything, and User tracks and sees their own time. To let someone fix entries, tick Edit All Time Interval.
Part 2
Start tracking
Everyone who tracks time does this on their own computer.
8 Install the desktop app
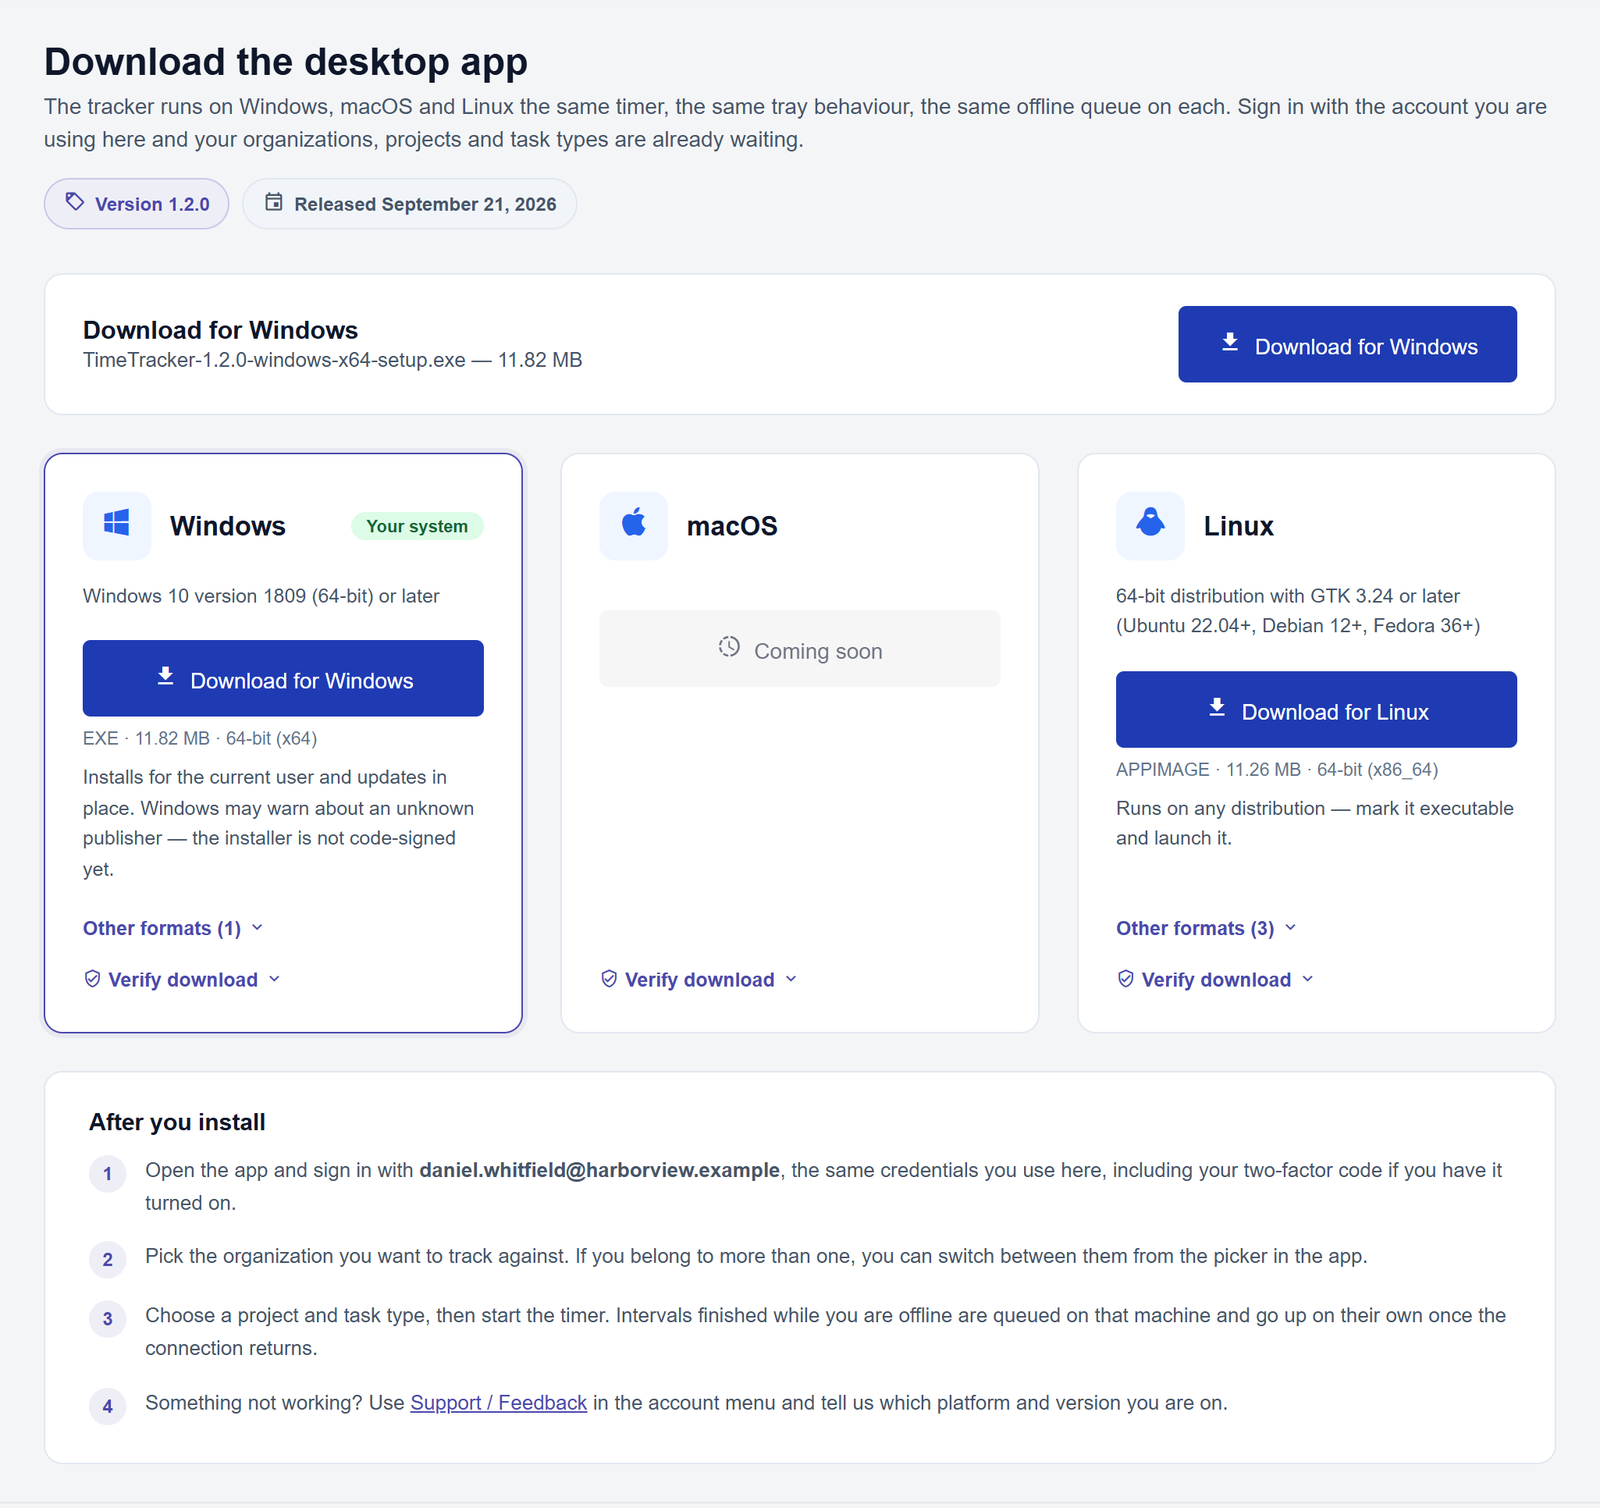
- Sign in to the website and click Download App at the bottom of the sidebar.
- Press Download for Windows or Download for Linux, then install it.
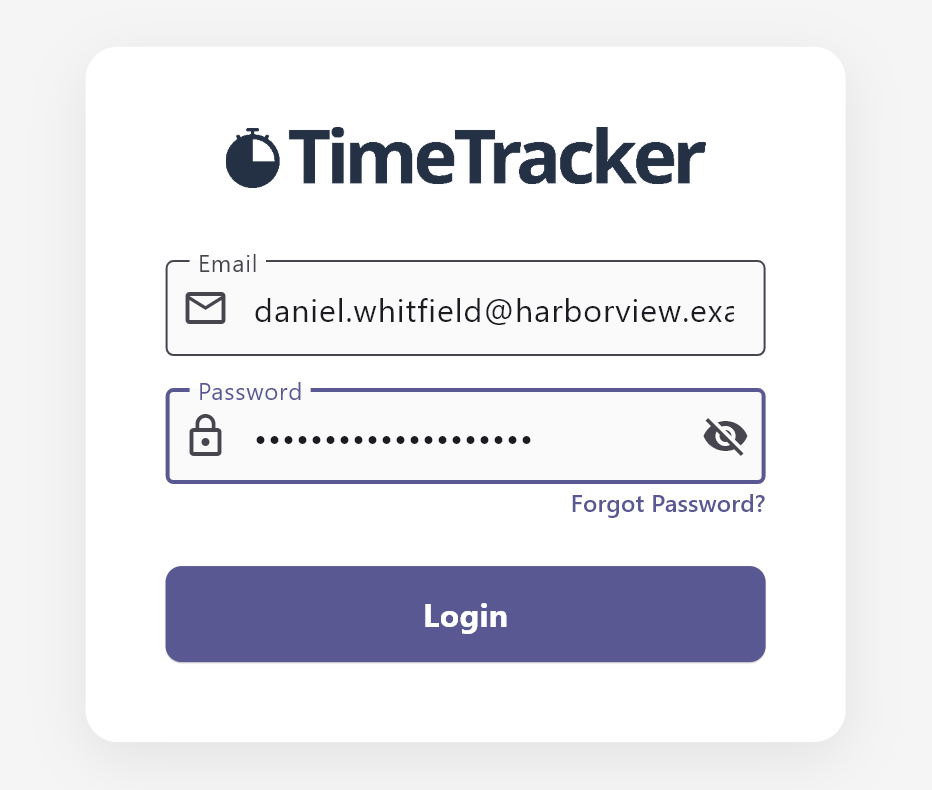
- Open the app and sign in with your website email and password.
- In more than one organization? Pick one from the Organization list at the top.
9 Start tracking
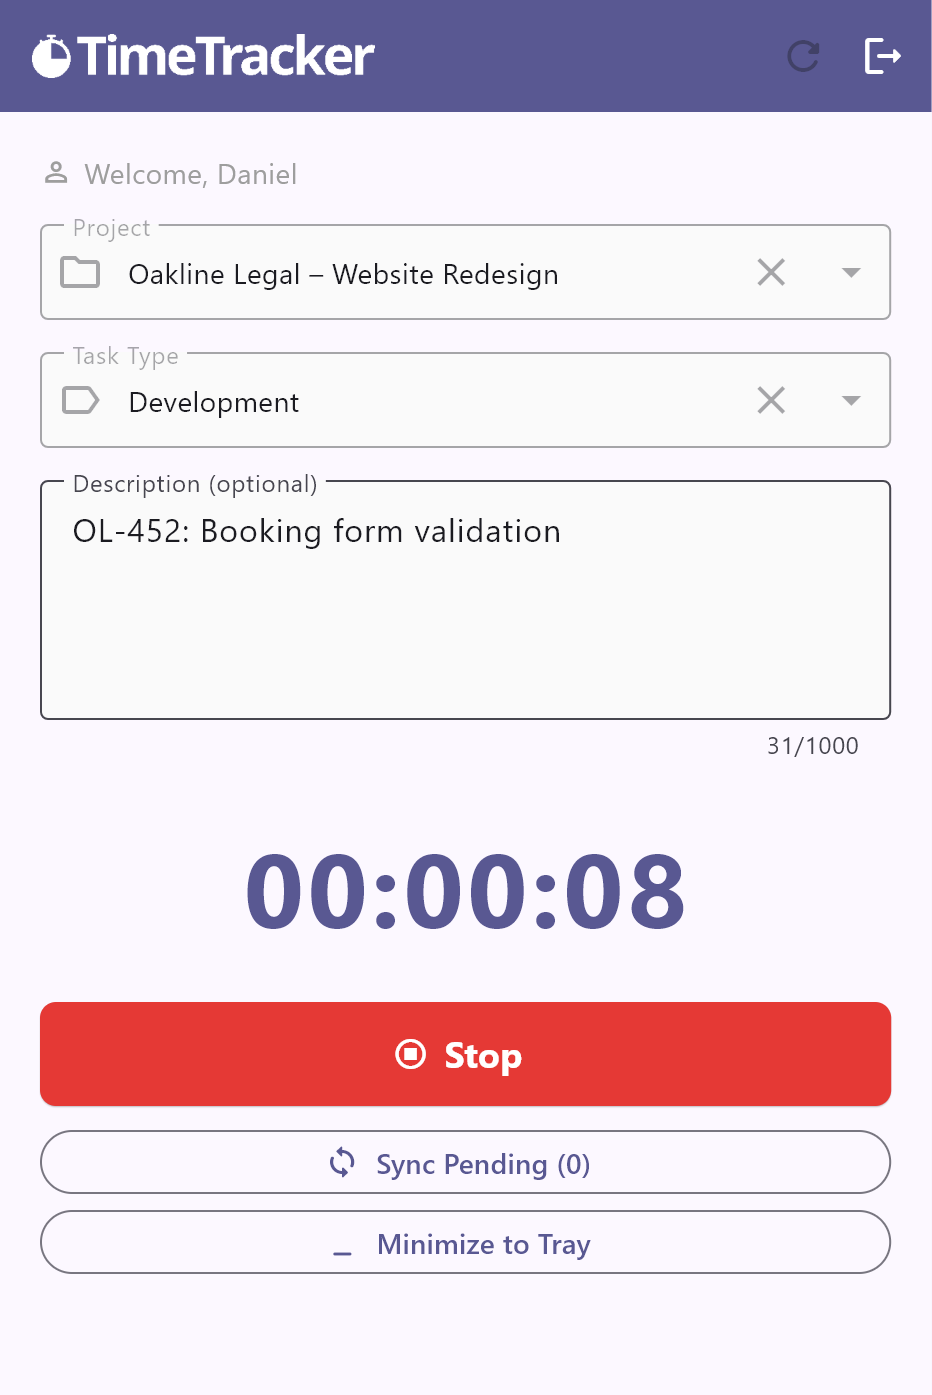
- Choose a Project, then a Task Type.
- Optional: add a Description, such as a ticket number.
- Press Start.
Minimize to Tray keeps the timer running out of the way. Closing the window stops it.
10 Stop and review
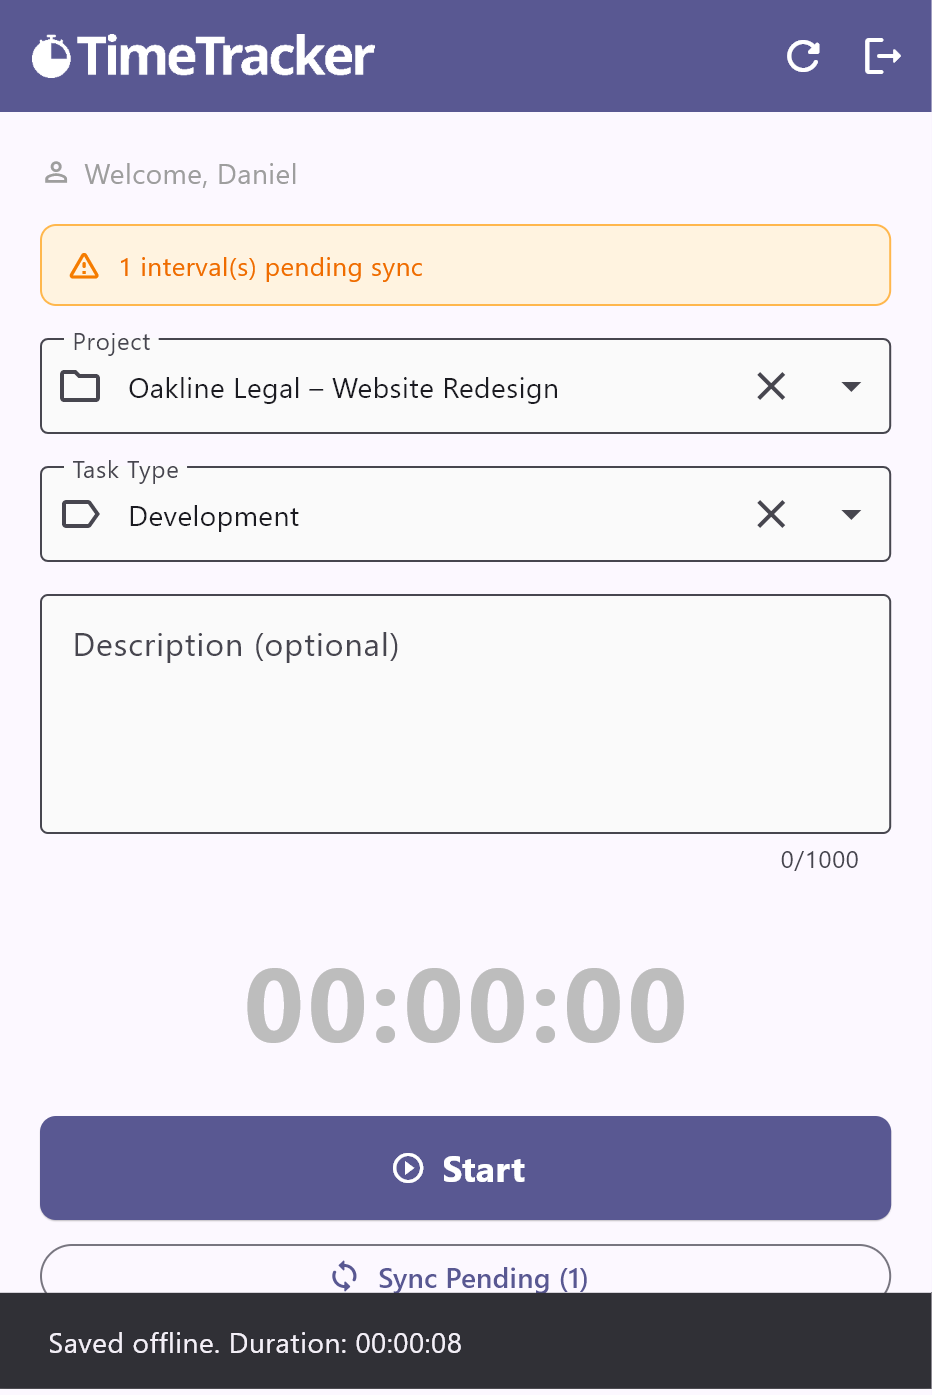
- Press Stop when you finish or take a break.
- Offline? The entry is saved on your computer and sent when you reconnect. Sync Pending sends it right away.
- See your entries under Reports on the website.
If the app closed while the timer was running, it asks next time whether to Save or Discard that entry.
Part 3
Reports and management
What you see here depends on your role (step 14).
11 View reports
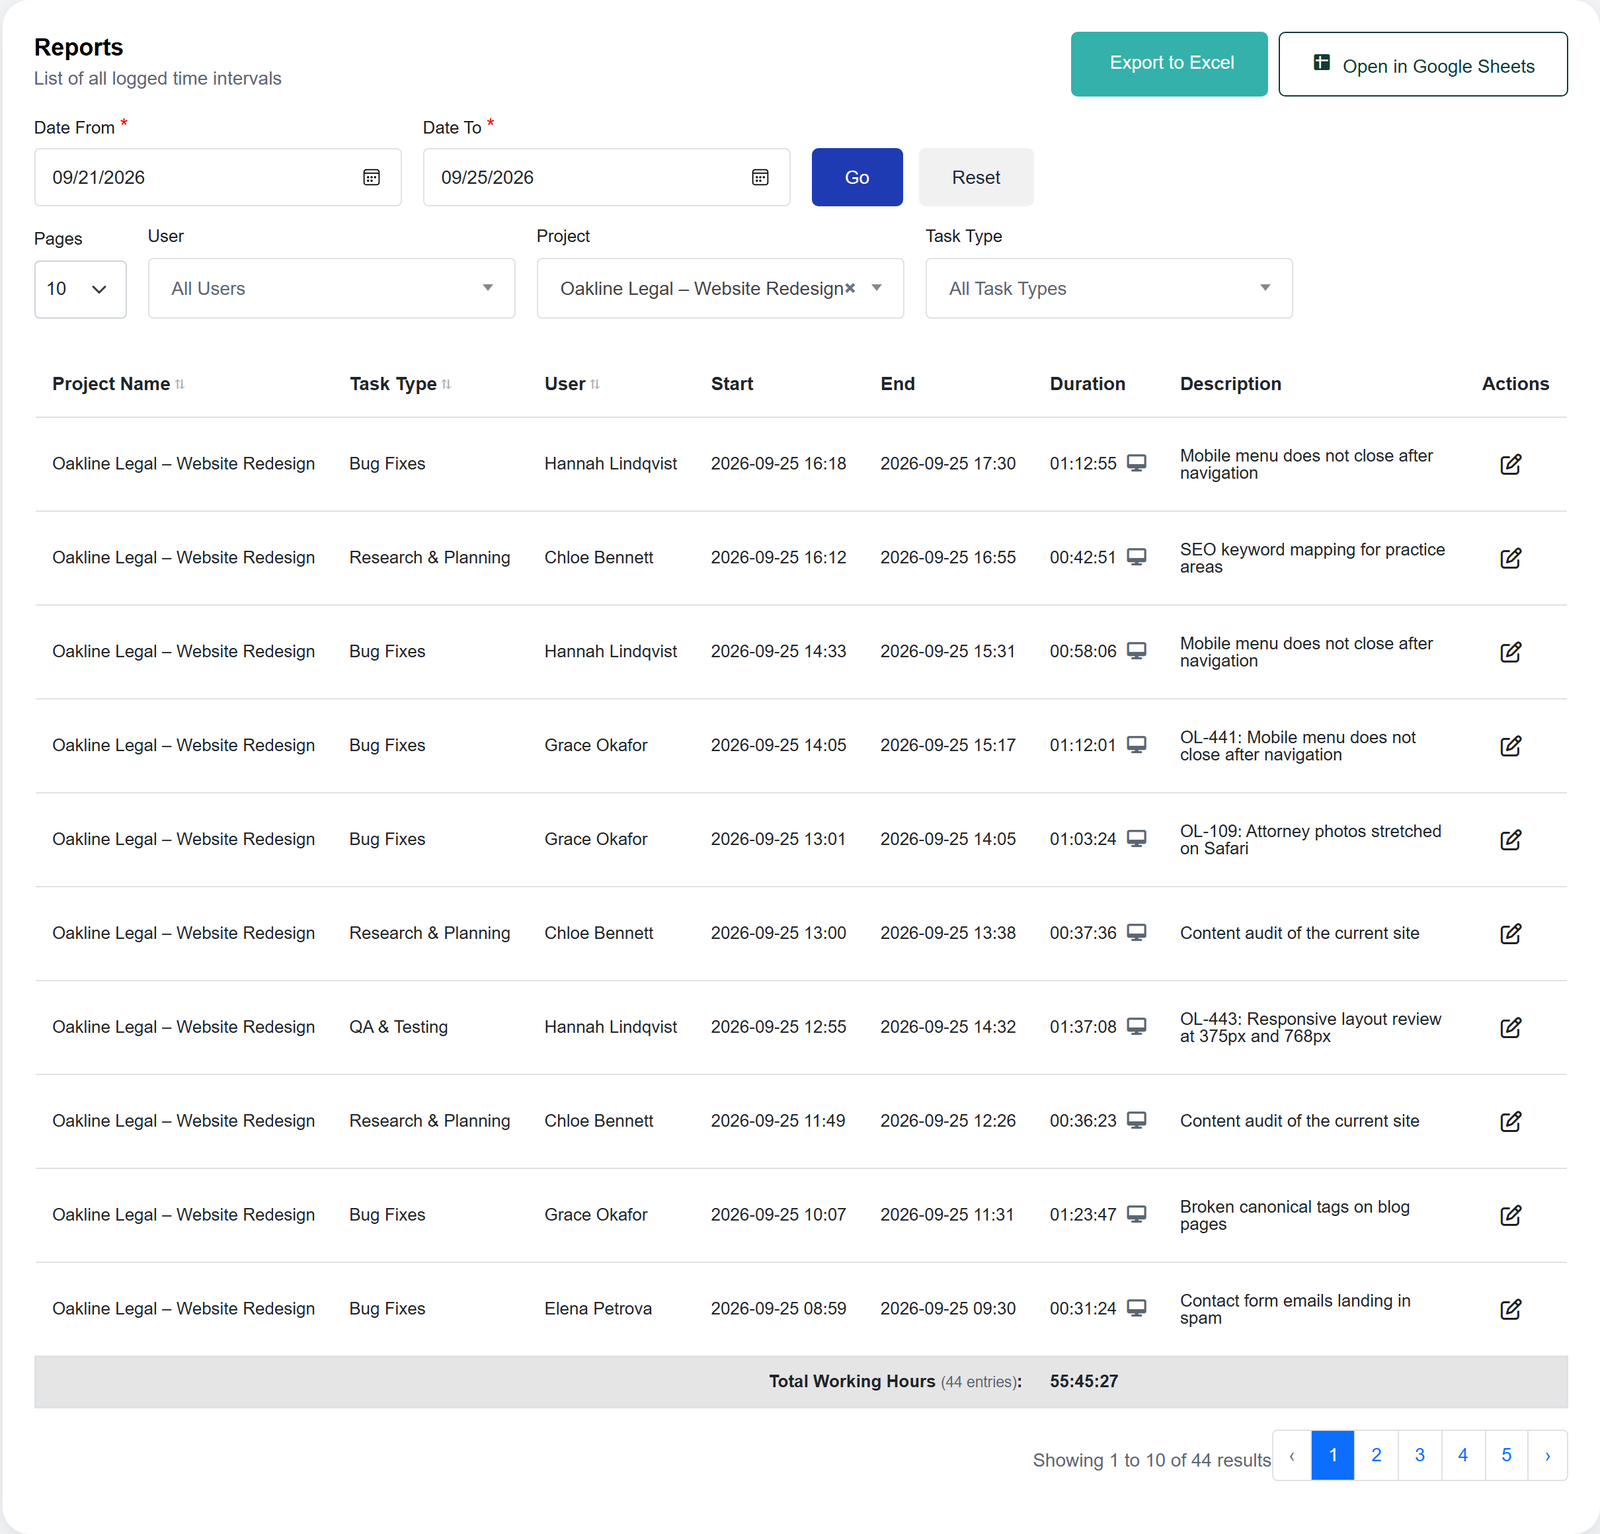
- Click Reports in the sidebar.
- Set Date From and Date To, then press Go. Nothing shows until you do.
- Optional: filter by User, Project or Task Type.
- Read Total Working Hours at the bottom. It covers every page of results.
12 Export to Excel
- In Reports, set the dates and filters you want.
- Press Export to Excel.
You get one row per entry and a total. Duration is a real time value, so Excel can add it up.
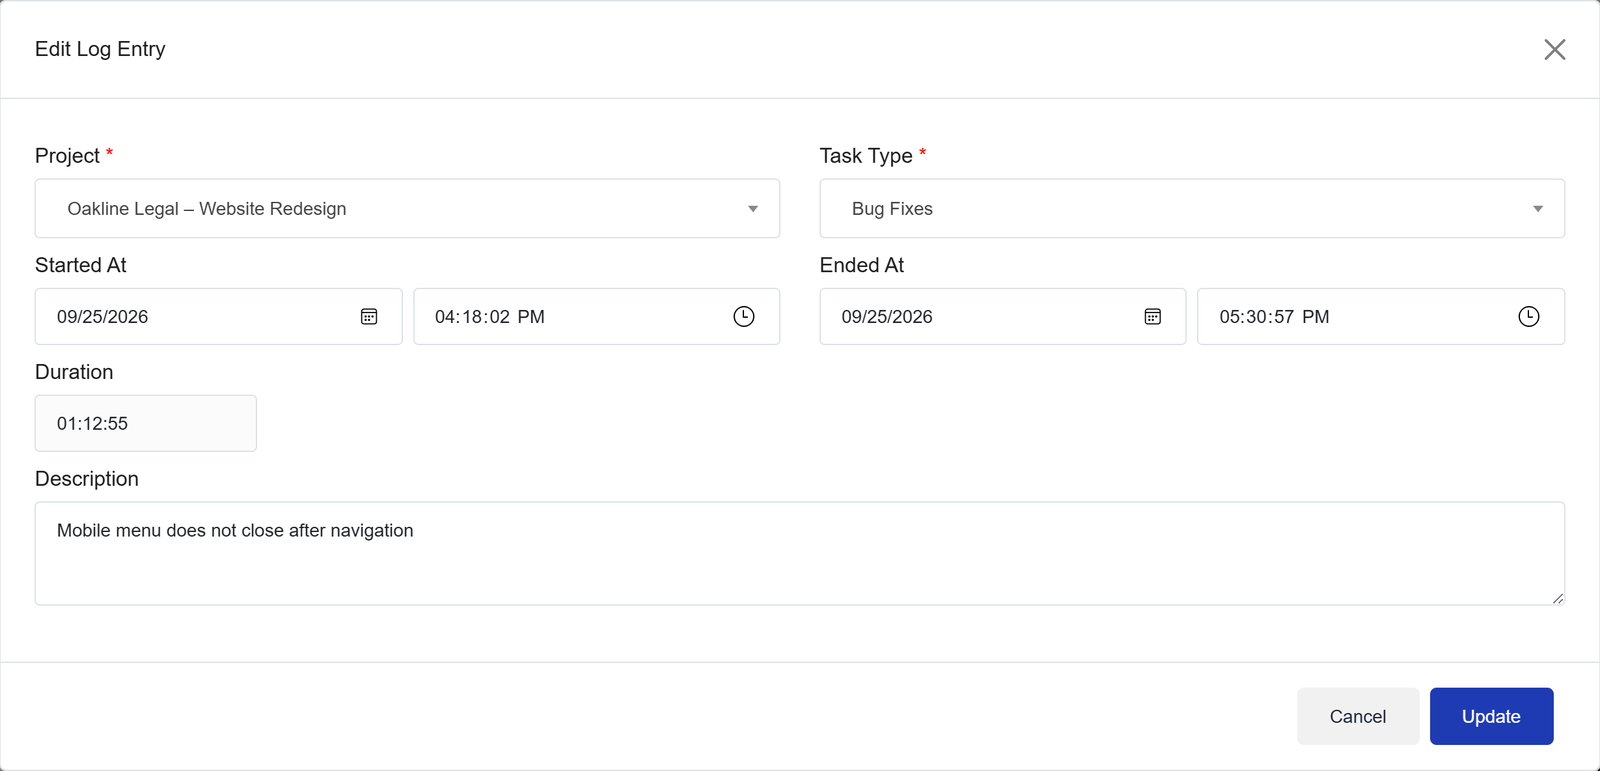
13 Edit or correct entries
- In Reports, press the edit icon on the entry.
- Change the project, task type, times or description.
- Press Update.
The edit icon only shows if your role allows editing. Every change is recorded under Activity Logs. New entries come only from the timer.
14 Manage roles and permissions
Who sees whose time in Reports:
| Who | Sees | Because of |
|---|---|---|
| Admins | Every entry in the organization | The Tenant Admin role |
| Team leads | Their own, plus their members’ entries on the team’s projects | Being a team’s Lead User |
| Users | Their own entries | - |
- To show someone a project’s hours, make them lead of its team: Teams, the edit icon, Lead User, then Update.
- To change what a role can do: Roles, the edit icon, tick or untick, Update Role.
Part 4
Help
15 Troubleshooting
Can’t sign in
- “Please verify your email address before signing in”
- Click the link in the email, or sign in on the website and press Resend Verification Email.
- “Invalid credentials”
- Check the email address, then use Forgot Password? to set a new password.
- “You do not have permission to use the desktop or mobile app”
- Ask an admin to add Login to Desktop/Mobile App to your role.
Can’t see a project
- It is not in the list
- Ask an admin to add you to the project’s team.
- It was just created
- Close the app and open it again.
- It has no task types
- An admin adds them to the project (step 6).
- You are in another organization
- Check the Organization list at the top of the app.
Entries pending sync
- “3 interval(s) pending sync”
- Those entries are saved on your computer and are sent when you are back online.
- The count does not go down
- Check your connection and press Sync Pending. Keep the app installed until the count is zero: the entries exist only on that computer until then.
Still stuck? Use Support / Feedback in the account menu.
16 Frequently asked questions
No. It records only the project, the task type, an optional description, and when you pressed Start and Stop.
Yes. Entries are kept on your computer and sent when you are back online.
Windows and Linux today, with macOS launching soon. On a phone, the Android app is available on Google Play, and the iPhone app is on the App Store. Everything else is in the web app, which works in any modern browser.
Start it when you remember. Someone allowed to edit entries can then change its start time in Reports.
Yes. Switch in the desktop app's Organization list, or with Switch Organization in the website's account menu.
You, your organization's admins, and the lead of your team for that team's projects.
It is free during early access, with no credit card needed. You will be told well in advance if that changes.